
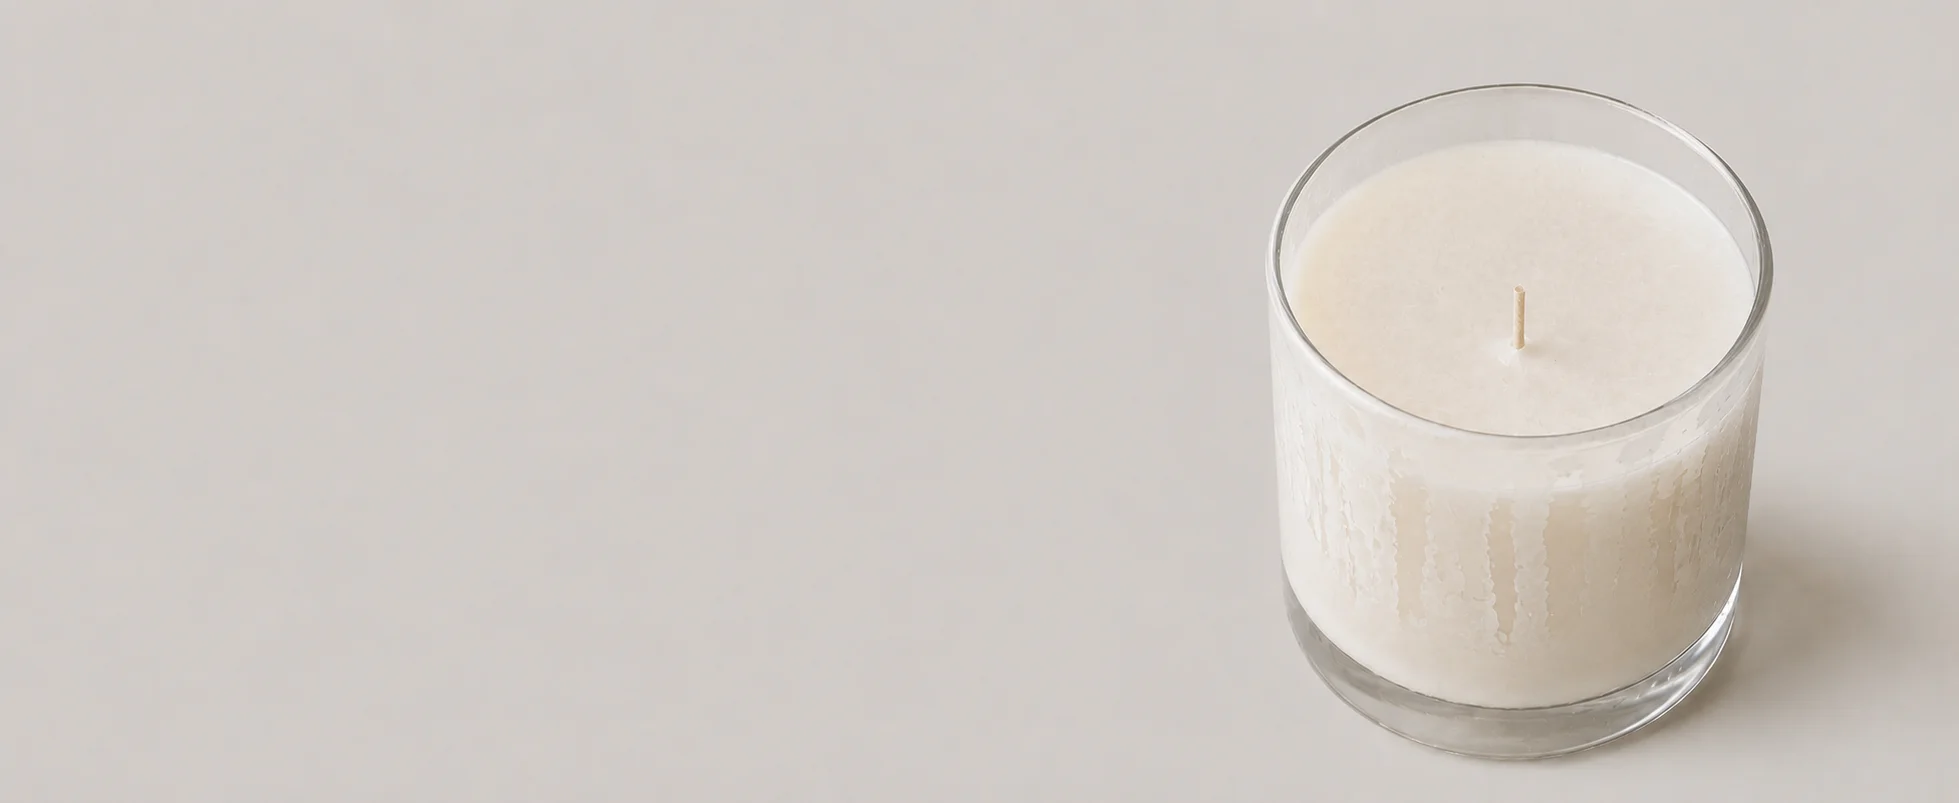
When making container candles, one of the most common cosmetic issues you’ll run into is poor glass adhesion. This is when the wax pulls away from the sides of the jar, creating what the industry calls “wet spots” or unsightly air pockets. While these spots don’t affect the safety or the scent throw of your candle, they can make your finished product look a little less professional on the shelves.
What Causes Poor Glass Adhesion?
- Wax Shrinkage: All wax naturally contracts as it cools down and solidifies. If the jar pulls heat away faster than the wax can settle, the two will separate.
- Temperature Shock: Pouring hot wax into a cold jar creates an immediate temperature shock, leading to rapid, uneven cooling and instant air pockets.
- Trapped Air Bubbles: Stirring your batch too fast or rushing your pour introduces micro-bubbles that get trapped right between the wax and the glass surface.
- Wax Type: 100% soy wax and other plant-based waxes are notorious for adhesion issues, whereas paraffin wax naturally grips glass much better.
How to Prevent Glass Adhesion Issues
1. Prep Your Jars Right
Always wash and thoroughly dry your glassware before your pour to remove any factory dust or residual oils. Right before you’re ready to pour, preheat your containers to roughly 100°F to 120°F using a heat gun or a warm oven. You want the glass to feel warm to the touch so it matches the temperature of the wax, eliminating any sudden thermal shock.
2. Control Your Pour Temperature
Stick close to your wax manufacturer’s recommended pouring guidelines. Avoid pouring your wax when it’s blisteringly hot, as extreme heat leads to drastic shrinkage as it sets. Consistency is key here, try to keep your pouring temperature exactly the same from batch to batch.
3. Optimize Your Cooling Environment
Never set freshly poured candles directly on granite countertops, stone islands, or stainless steel tables, as these cold surfaces will instantly suck the heat out of the bottom of the jar. Instead, line your workspace with cardboard, thick towels, or wood boards. Let your candles cure at a stable room temperature in a draft-free space away from AC vents, open windows, or fans.
4. Mix and Pour with a Gentle Hand
When blending in your fragrance oils, stir slowly and deliberately to minimize bubbles. When it’s time to fill your jars, pour gently down the inside wall of the container rather than dropping it straight down the center. Once filled, give the sides of the jars a few very light taps to encourage any trapped air to rise to the top.
A Quick Reality Check
Remember that even the biggest commercial candle brands deal with wet spots, it is simply the nature of working with natural waxes! While these tips will drastically improve your glass adhesion, don’t let a few tiny spots discourage you. Keep a detailed pouring log, tweak your temperatures, and find the sweet spot that works best for your specific workspace.

